If you use MailPoet for email marketing, adding high-converting popups to your website is a game-changer. OptinMonster makes it easy to create engaging MailPoet popups that help you capture leads and grow your email list.
In this guide, I’ll show you how to create a MailPoet popup in minutes using OptinMonster.
- What Is MailPoet?
- What Is a MailPoet Popup?
- Why Use OptinMonster to Make MailPoet Popups?
- How to Create a MailPoet Popup With OptinMonster
What Is MailPoet?

MailPoet is a powerful email marketing plugin for WordPress. It allows businesses to:
- Create beautiful, customizable email campaigns directly from their WordPress dashboard.
- Automate email workflows like welcome series or abandoned cart emails.
- Access detailed analytics to track campaign performance.
Pairing MailPoet with OptinMonster lets you grow your email list faster by using targeted, high-converting popups to collect leads.
What Is a MailPoet Popup?

A MailPoet popup is an optin form displayed on your website that encourages visitors to subscribe to your MailPoet email list. These popups can appear in various forms, such as lightboxes, fullscreen overlays, or slide-ins.
With OptinMonster, you can design MailPoet popups that:
- Match your brand’s style.
- Promote exclusive offers or lead magnets.
- Display at the perfect time, like when a user is about to leave the page.
Why Use OptinMonster to Make MailPoet Popups?
While MailPoet excels at email marketing, OptinMonster ensures you collect the right subscribers to grow your list. Here’s why OptinMonster is the perfect tool for creating MailPoet popups:
- Easy Customization: Use the drag-and-drop builder to design popups tailored to your audience.
- Advanced Targeting: Show popups to specific visitors based on their behavior, location, or device.
- Exit-Intent® Technology: Catch abandoning visitors before they leave your site.
- Seamless Integration: Quickly connect your OptinMonster campaigns with your MailPoet email lists.
How to Create a MailPoet Popup With OptinMonster
Follow these simple steps to set up your MailPoet popup:
Step 1: Create a New Campaign in OptinMonster
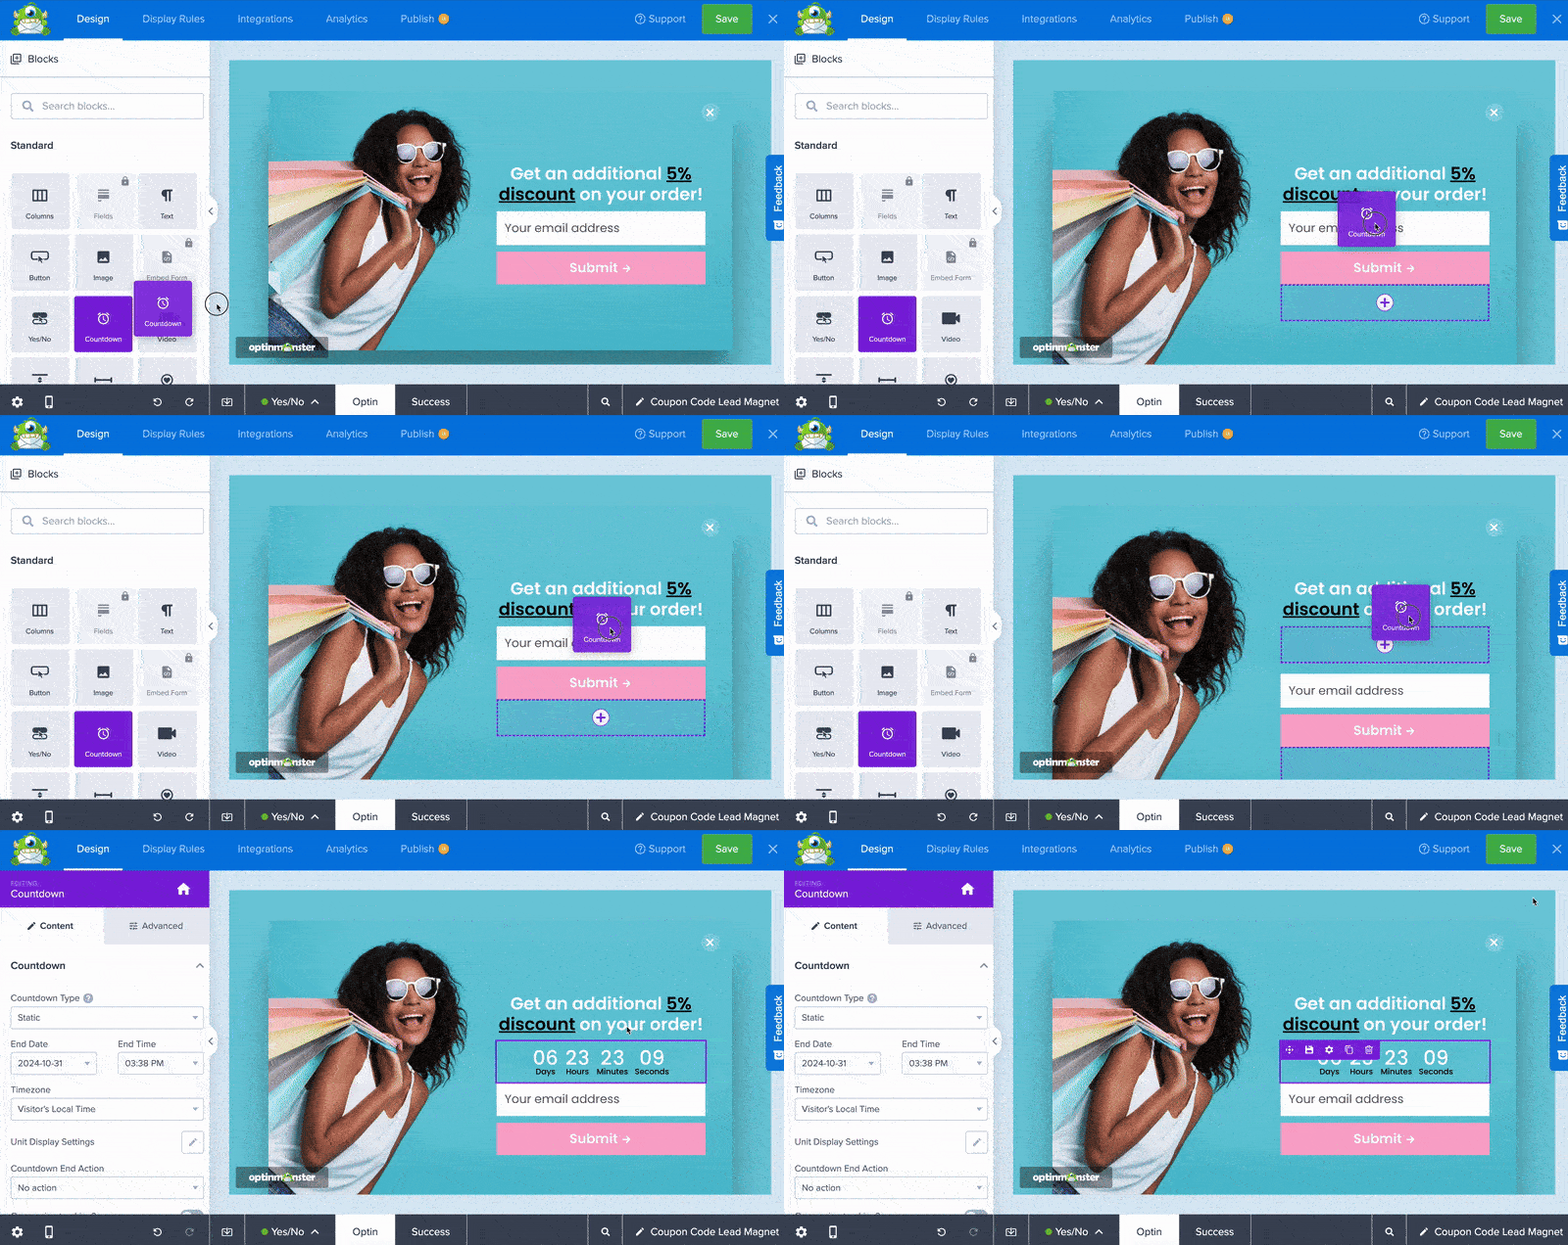
With OptinMonster’s pre-made templates and easy drag-and-drop builder, you can design a popup in minutes.

Simply follow these steps:
- Log into your OptinMonster account.
- Click Create New Campaign.
- Choose a campaign type, like Popup or Fullscreen.
- Pick from 700+ pre-built templates or start from scratch.
- Customize your design using the drag-and-drop builder.
- Click the Display Rules tab to choose exactly which visitors will your popup and when.
- Once done, click Save.
For more detailed instructions, see our guide to Creating Your First OptinMonster Campaign.
Step 2: Connect OptinMonster to MailPoet
To connect OptinMonster to your MailPoet account and start collecting leads seamlessly, follow these steps:
- Install and Activate the MailPoet Plugin
Ensure the MailPoet plugin is installed and activated on your WordPress site. You’ll need this to manage and synchronize your email lists. - Integrate MailPoet in the Campaign Builder
- Open the Integrations tab in your OptinMonster campaign builder.
- Search for and select MailPoet from the list of available integrations.
- Assign an internal MailPoet Account Name for easy identification of this integration.
- Click Connect to MailPoet.
- Save and Configure Output Settings
- Navigate to your WordPress admin panel and go to OptinMonster > Campaigns.
- Locate the campaign you’ve created and click Output Settings.
- Enable the Save Leads to MailPoet option and choose the MailPoet list where you want to add leads.
- Optional: Field Mapping
- If your optin form contains fields beyond Name and Email Address, map these fields to corresponding MailPoet fields.
- Use the Auto Create Fields option to automatically generate fields in MailPoet. Alternatively, create and map custom fields manually to keep your setup organized.
- Test Your Integration
- Submit test entries using unique email addresses to ensure everything works as expected.
- If leads appear in your MailPoet list but you don’t receive automated emails, verify your MailPoet automation settings.
By completing these steps, your campaign will sync seamlessly with MailPoet, enabling you to collect and manage leads effectively.
For advanced configurations, including automations and field mapping, refer to the OptinMonster MailPoet integration guide.
Step 3: Publish Your Campaign
Now, it’s time to make your popup live:
- Go to the Publish tab.
- Select your website’s platform (e.g., WordPress).
- Follow the provided instructions to embed the campaign on your site.
Your MailPoet popup is now live and ready to grow your email list.
Grow Your Email List With MailPoet Popups
With OptinMonster, creating MailPoet popups is quick and easy. Use advanced targeting, seamless integrations, and stunning designs to capture leads and grow your business.
Get started with OptinMonster today and supercharge your MailPoet campaigns!
Learn more about popups:
- Popups Explained: Capture More Leads and Drive More Sales
- 11 Types of Popups to Grow Your Business (With Examples)
- eCommerce Popups: 11 Examples & Templates to Boost Sales
Ready to convert your site visitors into subscribers? Get OptinMonster today.
The post How to Create a MailPoet Popup to Grow Your List (Step by Step) appeared first on OptinMonster.
Comments
Post a Comment