Are you looking for an easy way to create a contact form popup for your website?
Contact forms help visitors get in touch with you easily. But many visitors refrain from going to the contact page for submitting details.
A good solution is to place the forms inside popups. This makes it easier for the users to reach out to you if they have any concerns or inquiries.
Creating a contact form popup is easy and requires two plugins:
- an easy to use contact form plugin
- a powerful popup plugin
In this post, we’ll show you easy-to-follow steps for building a contact form popup. In the end, we’ll also show you how to add a popup to a WordPress menu for boosting conversions!
Creating a Contact Form in WordPress
The first thing we need is a contact form that will be embedded inside the popup.
With so many contact form plugins available, finding the right one for your needs can be challenging.
For this article, we’ve selected WPForms because it’s easy to use, lightweight, and has over 10,000+ 5 star reviews on WordPress.org.
Here is why we prefer WPForms over other plugins:
- Free: WPForms is available in free as well as paid versions.
- Ease of use: It’s beginner-friendly and comes with an easy to use drag and drop builder.
- Templates: You get plenty of pre-built form templates to save you time.
- Integrations: WPForms can be integrated with all the popular email marketing tools like Constant Contact, Mailchimp, Aweber, etc.
Now that you know why WPForms is the best plugin, let’s take a look at how to create a form with it.
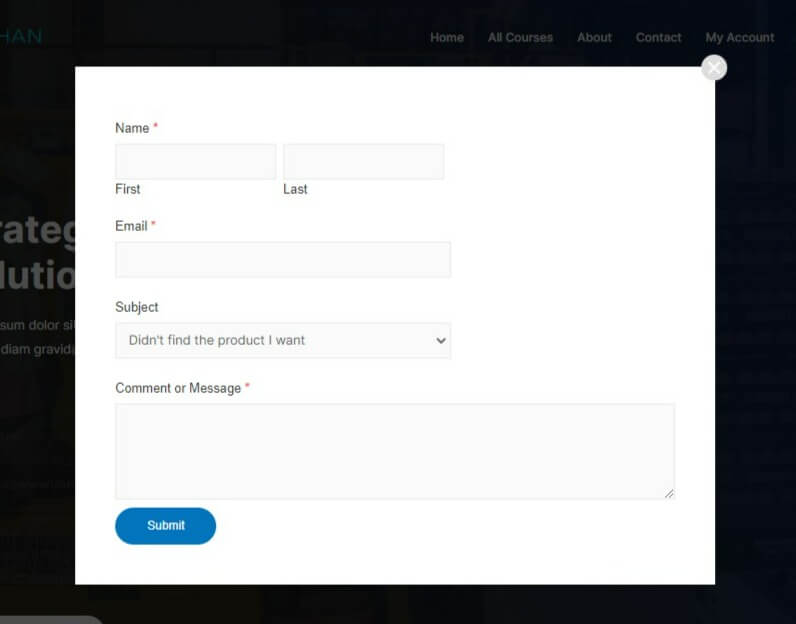
Here is the final output you can expect at the end of this tutorial.
Step 1: Install and Activate the WPForms Plugin
The first step is to install the WPForms plugin.
If you’re installing a plugin for the first time, check out this beginner friendly guide on installing a WordPress plugin.
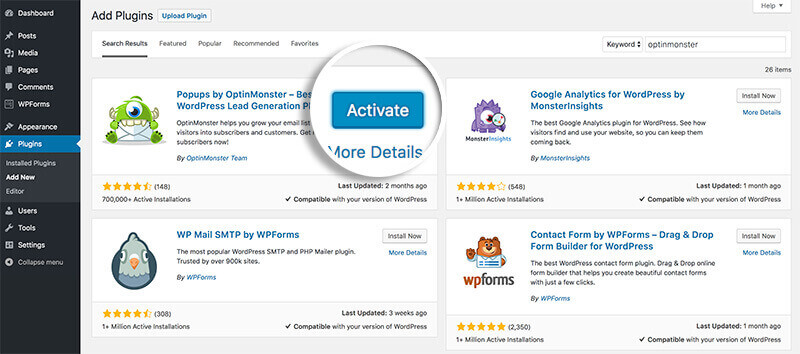
Open your WordPress dashboard and go to Plugins » Add New.
Search for WPForms.
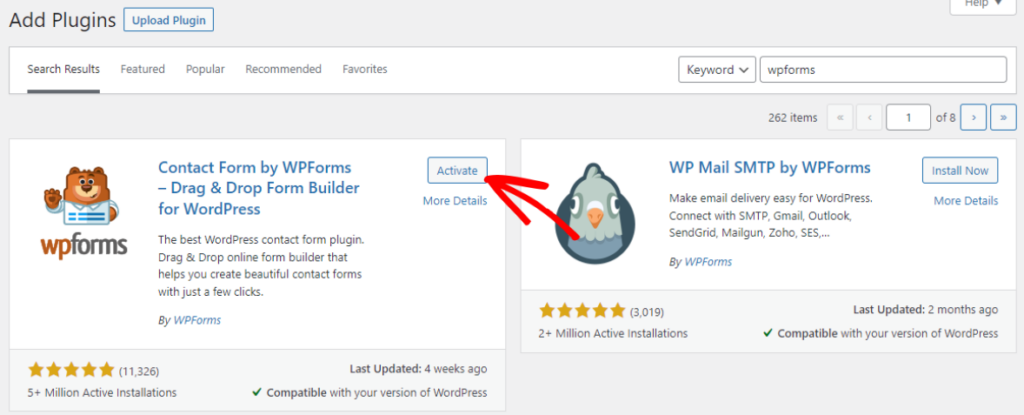
Install and activate the plugin.
Step 2: Create a Contact Form with WPForms
After the plugin is activated, you’ll see WPForms welcome page.

Now, it’s time to create a new contact form.
You can use the Create Your First Form button on the landing page for creating a contact form.
Another way is to use the WPFroms menu.
Simply go to WPForms » Add New.

Enter a name for your contact form and select the Simple Contact Form option.
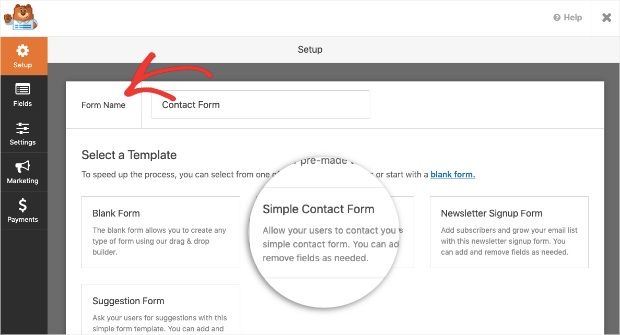
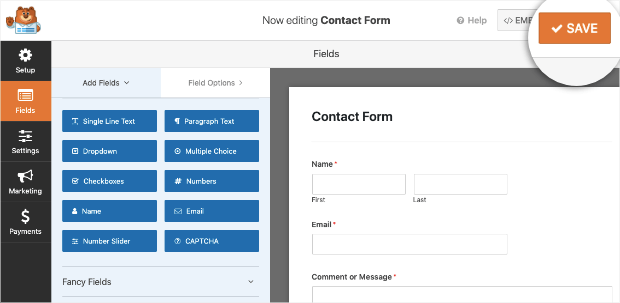
This will open up the drag and drop builder and the Simple Contact Form template.
By default, this template has 3 fields. If you want to add other fields, just drag them from the left-hand side and drop them in the form.
For example, we added a dropdown field “Subject” with three options.
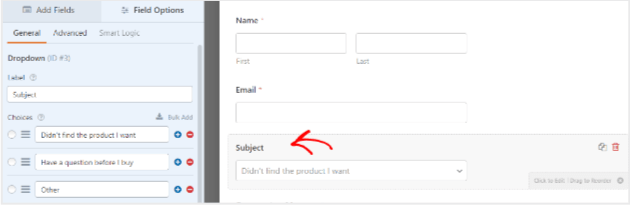
Visitors can select one of the options while submitting the form.
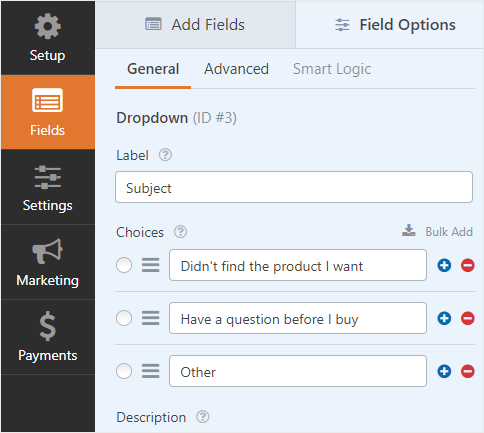
Click on the Save button to save your changes.
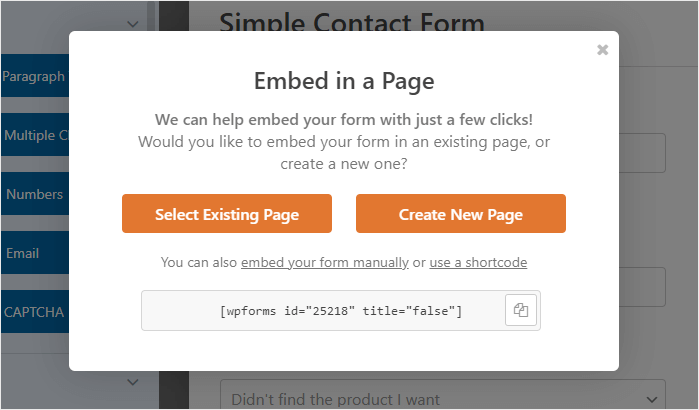
Now, click on the Embed tab to get the form shortcode. Don’t forget to copy the shortcode. You’ll need to copy this shortcode into your popup plugin later (Step 5).
That’s it! Your contact form is ready for use.
Step 3: Install and Activate OptinMonster Popup Plugin
For this tutorial, we’ll use OptinMonster as our popup plugin.

OptinMonster is the #1 popup plugin for growing email subscribers and increasing your online sales. The drag and drop builder makes it easy to embed the contact form inside the popup.
If you’re using OptinMonster for the first time, sign up for an account
Follow the same steps for installing the OptinMonster plugin as we did for the WPForms plugin.
Once the plugin is activated, you’ll see a setup wizard for connecting OptinMonster to WordPress.
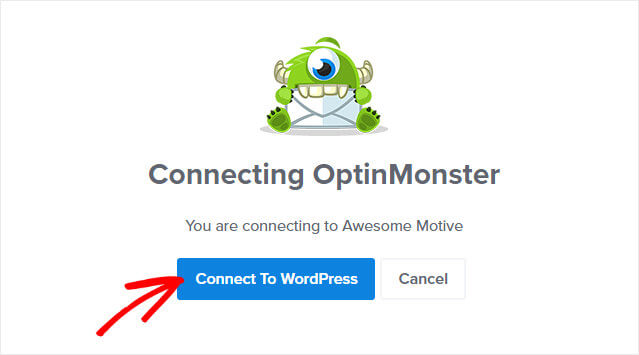
Click on the Connect to WordPress button after selecting the OptinMonster account.
You’ve successfully completed the first half of this tutorial.
Step 4: Create an OptinMonster Campaign
The next step is to create a popup with OptinMonster.
Click on the Campaigns menu from the OptinMonster dashboard for creating your first campaign.

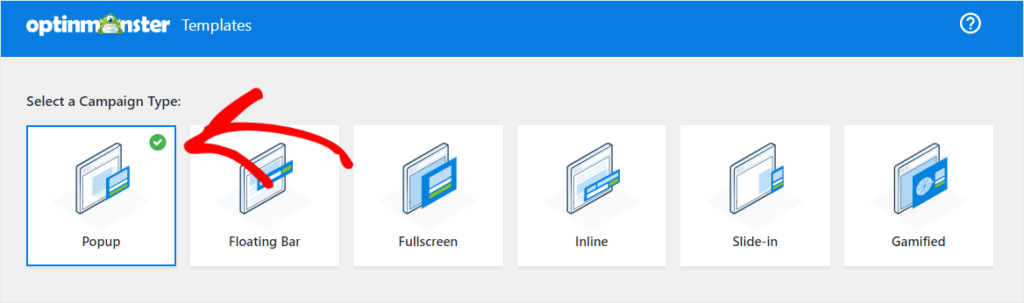
In the next step, we’ll select the popup option as your Campaign Type.
Scroll down on the template’s section. OptinMonster comes with more than 75 readymade templates designed for high conversions.
Since we’re dealing with a shortcode, select the Canvas template.
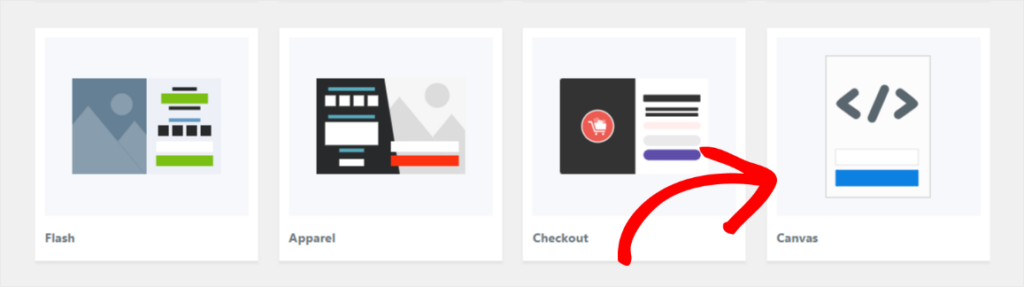
It’s basically a blank template suitable for adding HTML shortcodes and other code snippets.
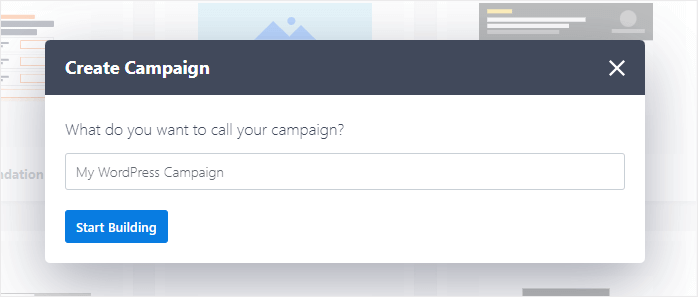
Enter a name for your campaign and click the Start Building button on the next step.
Step 5: Embed the Form in Popup
Search for the HTML block from the left-hand blocks section and drop it on the blank canvas.
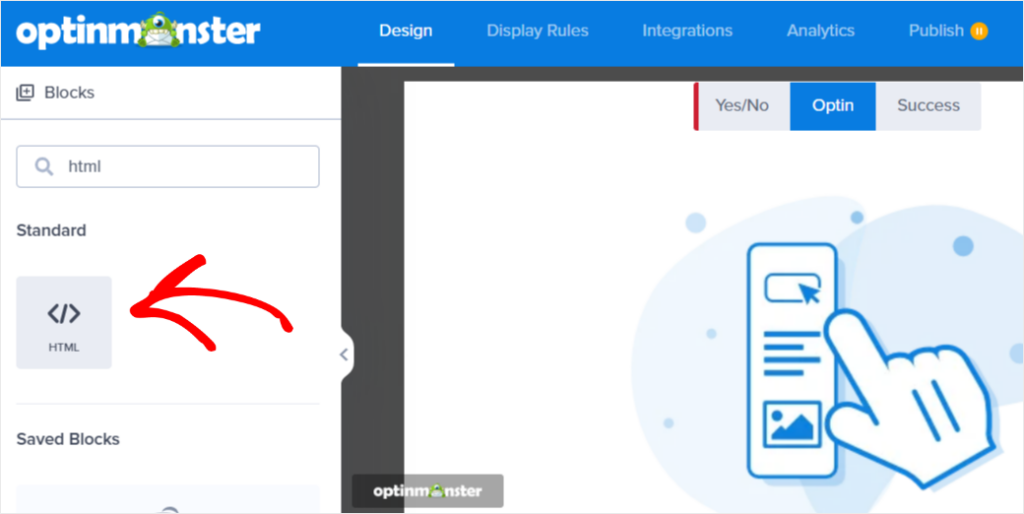
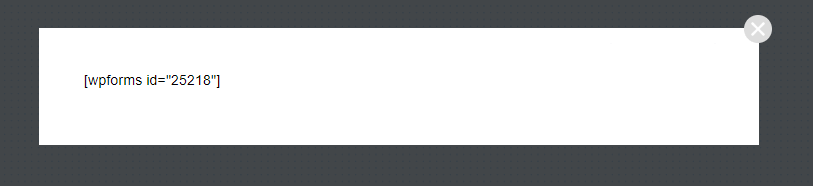
Here you’ll need to add the WPForms contact form shortcode.
Note that you won’t be able to check the preview of the WPForms shortcode inside the campaign dashboard.
Click on the Save button and move to the next steps.
Now, we will add custom CSS to our contact form to make it stylish and more appealing.
Don’t worry if you’re new to CSS. You need to copy the code and paste it into the campaign Custom CSS setting.
Here’s the code we used in today’s demo to style our form:
Click on the settings button at the left bottom of the page and go to Advanced » Custom CSS.

Paste the code in the box and click on the Save button.
Step 6: Set Your Display Rules
Before moving to the display rules step, we strongly recommend checking out this guide on creating your first OptinMonster campaign. This guide will help you learn more about setting display rules for your campaigns.
OptinMonster offers plenty of targeting rules and triggers that you can choose from.
Some of the most popular triggers are MonsterLinks and Exit-Intent trigger. Both these triggers can be used in case of a contact form popup.
We recommend you choose one of these display rules (not both) considering your popup requirements.
MonsterLinks is best if you want your contact form popup appear when the user clicks a link or a button. This means that visitors can connect with you instantly if they have any queries by just clicking on the link and a popup will be shown.
Setting up the MonsterLinks display rule is easy. Check out this complete guide on how to use MonsterLinks in OptinMonster.
Now it’s time to see the Exit-Intent® display rule. It works by showing a popup to a customer precisely when they’re about to leave your website.
We strongly recommend using the Exit-Intent trigger on a products page or a checkout page if you’re running an eCommerce store. That way if someone leaves your page without making a purchase, you could show them a contact form. This also means your users can easily reach out to you and let you know about their concerns.
Let’s see OptinMonster’s Exit-Intent® technology in action.
The first step is to go to Display Rules in your OptinMonster editor.

Search for Exit Intent and click on the rule.
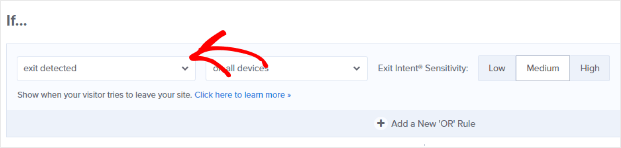
Select the exit intent display condition, and you can also set the sensitivity level.
You can even add additional rulesets if you wish to.
Don’t forget to Save the changes before moving on to the publishing step.
Step 7: Publish Your Contact Form Popup
The last step is to publish the campaign and display the contact form popup on the front end.
Go to the Publish tab and review the campaign summary on the right side.
Once you’re confirmed with the settings, change the status from Draft to Publish.

That’s it.
Now, whenever a visitor is about to exit the page on your website, they’ll see an exit intent popup.
Here’s our final contact form result:
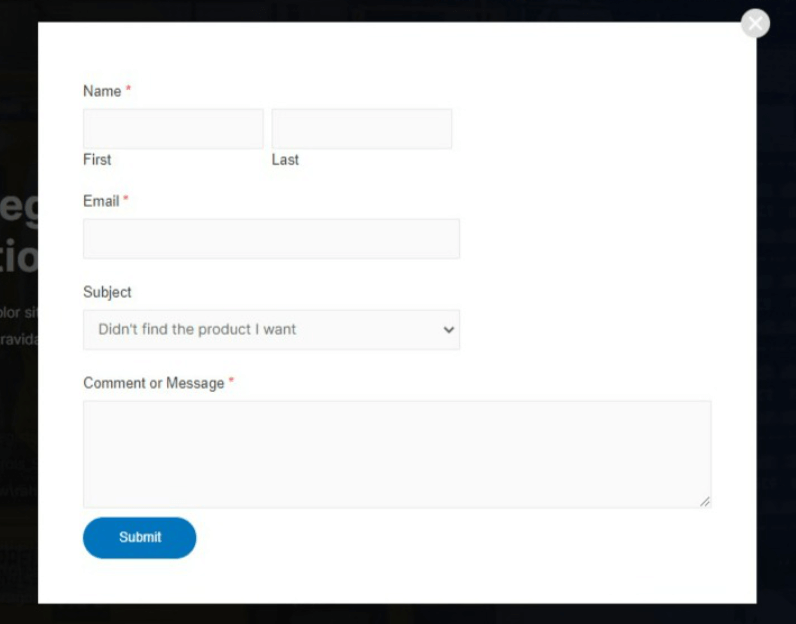
You’ve successfully created a contact form popup using WPForms and OptinMonster.
BONUS! Adding a Popup to a WordPress Menu
Are you looking to generate more targeted leads from your WordPress site? One easy way to do that is to open a WordPress lightbox popup from a custom menu link like this:

The research shows that the top left of a web page attracts the most views. That makes your main menu a great place to attract attention with a tempting offer.
Here’s the campaign we’re going to create. Before we begin, you’ll need to get OptinMonster so you can create this effective campaign.

You’ll learn how to integrate OptinMonster’s MonsterLinks on-click optins with WordPress navigation menus so you can get more targeted leads and interested subscribers.
Simply follow all the steps mentioned in the above tutorial until Step 6. In Step 6, instead of choosing Exit Intent, choose MonsterLinks.
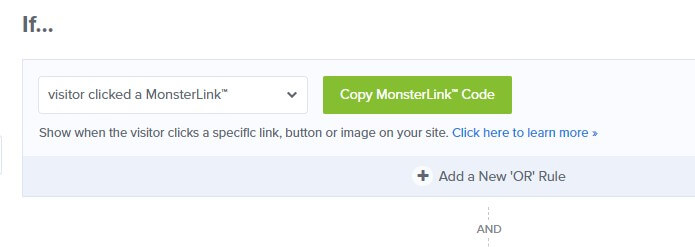
To do this, go to Display Rules and set a condition of If visitor clicked MonsterLink.
The next step is to create your WordPress menu item and add the MonsterLink.
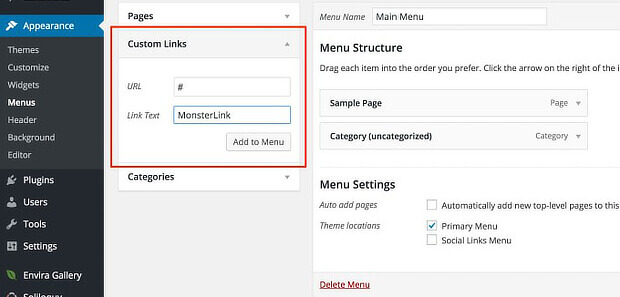
First, log in to your WordPress dashboard, and go to Appearance » Menus. Choose the menu you want to add your link to.
To add a new link, select Custom Links. Give the menu item a name via the Link Text field, and add a hashtag (#) in the URL field.
Click Add to Menu, then Save the menu.
Keep this window in your browser open, since you’ll need it for the next step.
Next, you’ll need to add code to the functions.php file of your WordPress theme.
Here’s an example of the code you’ll need:
add_filter( 'nav_menu_link_attributes', 'ekf_menu_attribute_add', 10, 3 );
function ekf_menu_attribute_add( $atts, $item, $args )
{
  // Specify the menu item ID we want to add our attribute to
  $menu_link = 64;

  // Conditionally match the ID and add the attribute and value
  if ($item->ID == $menu_link) {
    $atts['data-optin-slug'] = 'jiqobgwsx9qinkci';
    $atts['class'] .= 'manual-optin-trigger';
  }
  //Return the new attributes
  return $atts;
}
You can copy and paste this code to use yourself, but you’ll have to tweak a few things to get it to work for your website.
The items you’ll need to change are:
- The number after
$menu_link =in line 5 - The string of characters in single quotes after
$atts['data-optin-slug'] =in line 9
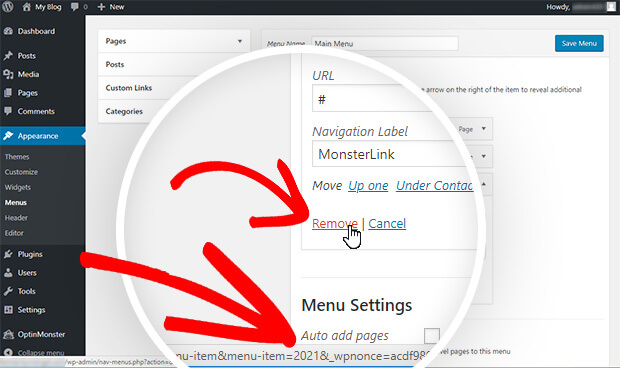
For the first item, you’ll need the ID of the link in your menu. You can find this in the menu editing screen you’re already in. Simply hover your mouse over the Remove button. That’ll bring up a link in the bottom of the browser that shows the menu ID, right after the part that says &menu-item=.
In this example, the menu ID is 2021:
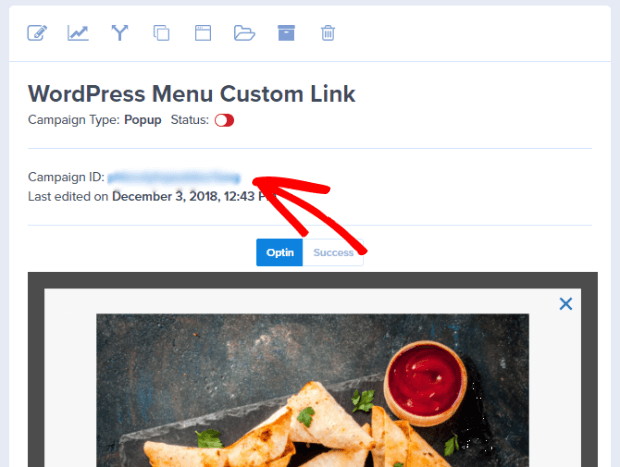
Then you’ll need the slug for your campaign. You can find this in the campaign dashboard. In the campaign list, click on the campaign you want to preview. It will show up in the campaign preview pain. There, you’ll find the Campaign ID for the campaign slug.
Add those two items to the code, then save your changes to the functions.php file.
That’s it! Now you know how to use a WordPress menu custom link to trigger a lightbox popup so you can get more targeted leads. Don’t forget to publish the form as mentioned in the above tutorial.
Ready to use popups to grow your business? Get OptinMonster today to get started!
Comments
Post a Comment